

Key Takeaways
- Peak brightness, measured in nits, is the single most important spec for bright-room TV performance.
- HDR content only looks its best when a TV can sustain high brightness levels across large screen areas.
- Anti-glare coatings reduce reflections but can soften perceived sharpness - there are real trade-offs.
- Panel technology - OLED, QLED, or LED - affects how well each TV handles bright ambient light.
- Positioning and window treatments can meaningfully reduce glare before you spend more on a higher-spec TV.
What you will need
Why Bright Rooms Change the TV Equation
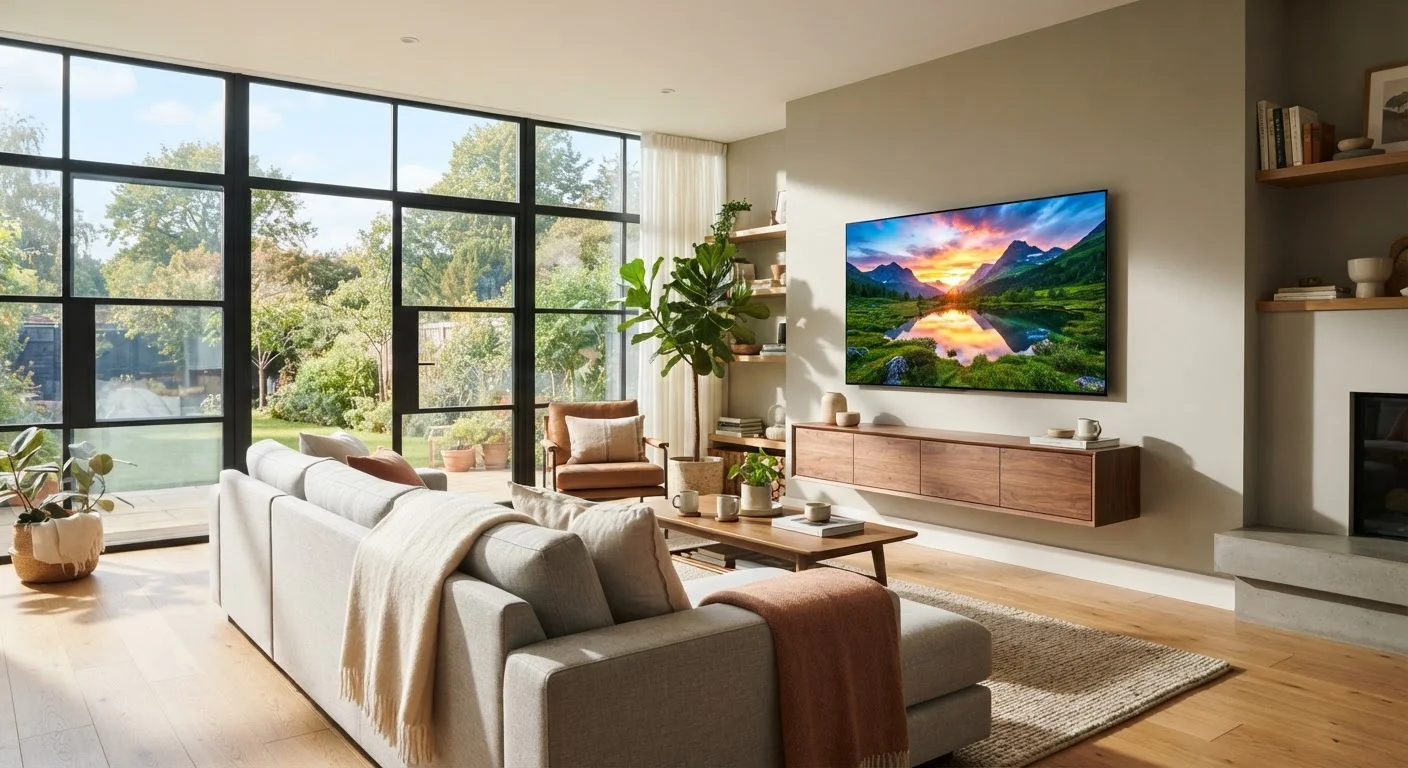
Watching TV in a dark room is forgiving. Ambient light is the great equalizer - a screen that looks spectacular at night can wash out, lose contrast, and appear faded by mid-morning in a south-facing living room. If your TV space gets significant daylight, you need to evaluate displays differently than the average showroom comparison suggests.
The core challenge is simple physics: when surrounding light levels rise, your eyes adapt, and the TV's apparent contrast drops. Deep blacks and subtle shadow detail - the hallmarks of a premium picture - are the first casualties. Understanding three key factors - peak brightness, HDR capability, and glare management - gives you a practical framework for narrowing your options. For a broader look at how panel types behave across different environments, see our breakdown of OLED, QLED, and LED panel technology.
Start With the Room, Not the Spec Sheet
Before comparing TV models, spend time observing where glare lands in your room at different hours. Repositioning your seating, adding a window shade, or shifting the TV angle by 15 degrees can meaningfully change what brightness and coating specs you actually need. Small room adjustments often deliver better results than jumping up a price tier.
Understanding Nits, HDR, and Anti-Glare Specs
Peak brightness (nits): A nit is a unit of luminance - one candela per square metre. In practice, it tells you how bright the screen can get. For a dimly lit room, 300-400 nits is often adequate. In a room with direct sunlight or large windows, you generally want 600 nits or above at sustained full-screen brightness, and 1,000+ nits for the specular highlights that make HDR content pop.
Be aware that manufacturers frequently advertise peak nits achieved over a tiny portion of the screen for a fraction of a second. Ask for sustained or full-screen brightness figures when evaluating specs, or look for independent lab measurements from display-focused review outlets.
HDR formats: HDR (High Dynamic Range) content is mastered with a wider range of brightness and colour than standard video. But HDR is only as good as the TV's ability to deliver it. A set rated for HDR10 that tops out at 400 nits will technically pass HDR signals but won't render specular highlights with real impact. Formats like Dolby Vision and HDR10+ add dynamic tone mapping, which helps lower-brightness panels make more of HDR content - but they don't overcome the fundamental limits of a dim panel in a bright room.
Anti-glare coatings and matte screens: Most TVs use either a glossy panel or some form of anti-glare treatment. Glossy panels deliver deeper blacks and more vivid colour in controlled lighting, but act as mirrors in bright rooms. Matte or haze coatings scatter reflected light, reducing distracting reflections at the cost of some perceived sharpness and colour saturation. Some higher-end sets use etched glass, which strikes a middle ground. For context on how these coating trade-offs parallel the smartphone display world, the smartphone screen technology guide covers similar principles. Also consider room setup: our room-by-room TV mounting checklist walks through how positioning relative to windows affects glare before you spend a cent on hardware.
HDR Labels Don't Guarantee HDR Performance
A TV bearing an HDR logo meets only a minimum signal-compatibility standard, not a minimum quality threshold. Sets that meet only the basic HDR10 certification can legally carry the label while delivering underwhelming results in bright rooms. Always cross-reference the certification with independently measured brightness figures before concluding a set is genuinely HDR-capable for your environment.
Step-by-Step: Evaluating a TV for a Bright Room
Use this process to assess any display before committing. Keep a notes document with your room's conditions and the specs you find - comparisons get confusing fast.
What you will need
Measure your room's ambient light levels
Use a free lux meter app on your phone - or an inexpensive standalone meter - to record brightness at your seating position at the brightest point of the day. A reading above 200 lux indicates a genuinely bright environment. This benchmark helps you set a minimum nits target for your shortlist.
Look up sustained full-screen brightness figures
Search for independent reviews from display-focused publications that measure brightness with calibration tools. Find the full-screen or sustained window brightness figure, not just the peak highlight number. For bright rooms, aim for at least 600 nits full-screen; rooms with direct sunlight may warrant 800+ nits.
Assess the panel type for your conditions
OLED panels produce perfect blacks and wide viewing angles but typically have lower sustained brightness than high-end LED and QLED sets. In very bright rooms, this can limit contrast perception. QLED and mini-LED LCD panels can sustain higher brightness levels, making them generally better suited for sunlit spaces. Weigh this against the OLED advantages if your room lighting varies significantly throughout the day.
Evaluate the screen's anti-glare treatment
If possible, view demonstration units in store under bright overhead lighting - showroom floors are actually useful here for simulating glare. Look for whether reflections appear as sharp mirror images (glossy) or diffused blurs (matte/anti-glare). A diffused reflection is less distracting even if it slightly reduces black depth.
Confirm HDR format support and tone mapping
Check that the TV supports the HDR formats used by your streaming services and disc player - HDR10 is the baseline standard, while Dolby Vision and HDR10+ offer content-adaptive tone mapping. If the panel's peak brightness is below 1,000 nits, dynamic tone mapping becomes more important for extracting detail from HDR highlights.
Plan window treatments and TV placement together
Even a high-brightness TV benefits from reduced ambient light. Blackout or solar shades, repositioning the set perpendicular to windows rather than opposite them, and avoiding placement directly below skylights all reduce the glare load on the screen. These adjustments are free and can meaningfully improve any TV's performance in your space.
Once you've calibrated your new TV for your room conditions, revisit the picture settings. Most sets ship in a vivid or dynamic mode tuned for retail floors - our article on why factory TV settings underperform explains how to correct this. If you're weighing a TV against a projector for a sunlit space, the projector vs. large-screen TV comparison addresses why ambient light is typically a decisive factor.