

Key Takeaways
- Wall construction type determines which mount hardware you can safely use.
- Viewing angle and eye-level height vary significantly by room and seating position.
- Glare sources should be identified before drilling any holes.
- Cable management must be planned before the TV goes up, not after.
- Room-specific factors - fireplace heat, bedroom posture, kitchen moisture - require tailored decisions.
Summary
22 items · 30-60 minutes
Why Planning Before Mounting Pays Off
Mounting a TV looks straightforward until you're staring at a wall with a hole in the wrong place, a mount that won't hit a stud, or a screen that catches every afternoon sunbeam. Most mounting mistakes are made in the first five minutes - before anyone picks up a drill.
This checklist walks you room by room through the decisions that matter: wall structure, viewing geometry, cable routing, and environmental factors like light and heat. Whether you're setting up a living room theater or a bedroom screen, working through these items before you commit to a location will save you time, money, and frustration.
For context on how the TV itself affects placement decisions - particularly in bright rooms - see our guide on choosing a TV for a bright room. And if you're still finalizing your TV purchase, understanding which TV specs actually matter will help you avoid spec-sheet traps.
Wall Assessment
Viewing Height and Angle
Glare and Lighting
Cable and Power Management
Room-Specific Considerations
Tools You'll Need Before You Start
Having the right tools on hand before you begin prevents mid-task trips to the hardware store and reduces the risk of misjudging your wall. None of these are specialized - most households either own them or can borrow them.
Stud finder
Locates wall framing behind drywall so you can anchor the mount securely.
Measuring tape
Confirms viewing height, stud spacing, and TV center positioning.
Level (spirit or digital)
Ensures the mount bracket is perfectly horizontal before drilling final holes.
Drill with appropriate bits
Makes pilot holes and drives lag bolts or screws into studs or masonry.
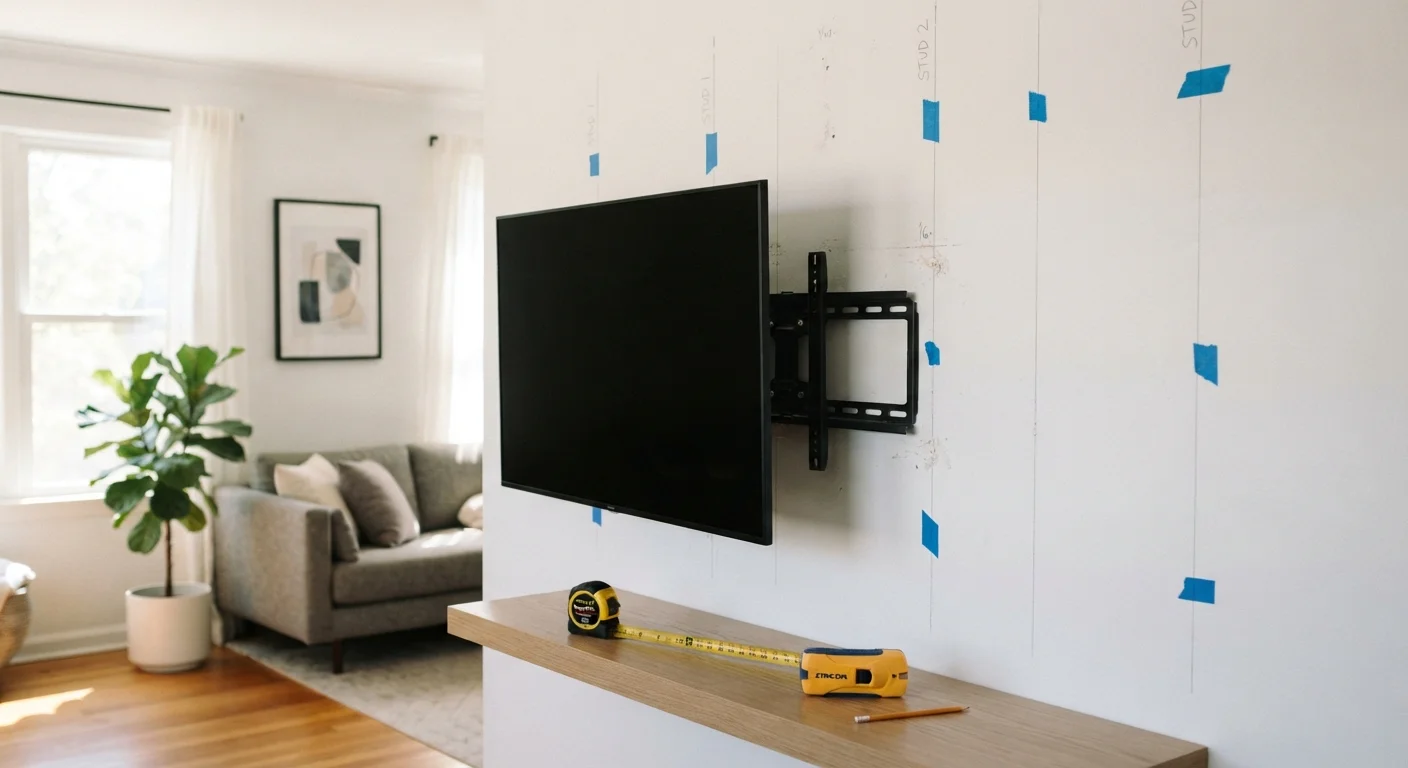
Pencil and painter's tape
Marks stud locations and planned mount position without permanently marking the wall.
Voltage/AC detector
Identifies live electrical wires inside the wall before drilling to avoid dangerous contact.
Borescope or inspection camera
Lets you visually inspect inside the wall cavity for pipes or unexpected obstructions.
Cable raceway kit
Provides a surface-mount cable management solution if in-wall routing is not feasible.
Once the TV is mounted, your next planning task is audio. Many people overlook soundbar placement until after the TV is up, which can create clearance and bracket conflicts. Our guide on setting up a soundbar well covers the steps most people skip at this stage.
Never Skip the Stud Verification Step
Stud finders can produce false positives, especially near pipes, electrical boxes, or inconsistent drywall density. Always confirm a detected stud location by driving a small pilot hole before mounting. A mount anchored only into drywall - without hitting a stud - can fail under the weight of a TV, potentially causing serious damage or injury.
Above-Fireplace Mounting Carries Hidden Risks
Mounting a TV directly above a working fireplace exposes the display to sustained heat and rising soot, which can degrade internal components and void warranties. Even with a mantle present, heat output from gas and wood-burning fireplaces often exceeds manufacturer temperature tolerances. If this location is unavoidable, consult the TV's operating-temperature specifications and consider a heat deflector shelf.
After Mounting: First Steps Before You Settle In
Once the TV is secured to the wall, resist the urge to immediately dive into streaming. A few final checks will confirm the installation is safe and the picture is ready for real viewing conditions.
First, give the mount a firm two-handed tug - downward and side to side - to verify it's solidly anchored. Then power on the TV and run through picture settings. Factory display modes are typically calibrated for bright showroom floors, not home lighting. Our breakdown of why your TV picture looks worse after unpacking explains exactly what to adjust and why defaults underperform at home.
For a broader view of how your mounted TV fits into a complete home entertainment setup - including sound and streaming integration - see The Complete Guide to Home Entertainment.
Anchor Into Studs - Not Just Drywall
A TV mount must be secured into wall studs or appropriately rated masonry anchors - never into drywall alone. A 55-inch TV can weigh 50-80 pounds, and a failed mount can cause significant property damage or personal injury. If your stud spacing doesn't align with your mount's bracket holes, use a mounting plate or consult a professional installer rather than improvising.