

Key Takeaways
- An SSD upgrade can dramatically reduce boot times and application load speeds on older machines.
- Cloning your existing drive preserves your OS, apps, and files without a fresh install.
- Confirm your computer's drive interface (SATA or NVMe) before purchasing a replacement SSD.
- Backing up your data before starting is non-negotiable - hardware steps carry real risk.
- Most desktop and many laptop upgrades require only basic tools and moderate technical confidence.
What you will need
Why This Upgrade Makes Such a Difference
Spinning hard drives read and write data using mechanical platters and a moving read head. That physical movement creates the bottleneck you feel every time your computer takes 90 seconds to boot or stutters when switching between applications. An SSD stores data on flash memory chips with no moving parts - the result is dramatically faster access times across every task your computer performs.
For computers that are otherwise in good working order, this single upgrade can make a three- or four-year-old machine feel genuinely current again. Boot times that once stretched past a minute often drop below 15 seconds. Apps open on the first click rather than after a long pause. The physical components around the drive - RAM, CPU, display - are entirely unchanged, so their contribution to performance is finally no longer masked by storage waiting times.
Before starting, it's worth understanding how hard drives and SSDs compare in day-to-day use so you can set accurate expectations for the outcome.
Verify Compatibility Before You Buy
Installing an incompatible SSD is one of the most common and avoidable mistakes in this upgrade. Slim and budget laptops in particular may have restricted slot types or proprietary connectors that limit your options. Read our guide on what to know before upgrading a desktop component before you purchase anything.
What You'll Need Before You Start
Gathering the right tools and information upfront prevents the most common causes of a stalled upgrade. There are two things worth confirming early: your computer's drive interface type and whether your device allows user-serviceable storage at all.
What you will need
Compatible SSD
The replacement drive - must match your system's interface type (SATA or NVMe M.2).
USB Drive Enclosure or Adapter
Connects the new SSD to your computer via USB so you can clone the old drive onto it before swapping.
Drive Cloning Software
Copies your entire existing drive - OS, apps, and files - to the new SSD sector by sector.
Phillips-head Screwdriver
Used to open the computer case and secure or remove drive mounting brackets.
Anti-Static Wrist Strap
Prevents electrostatic discharge from damaging sensitive components during handling.
External Hard Drive or Cloud Storage
Holds a complete backup of your data before you begin the physical swap.
Some Laptops Are Not User-Serviceable
Certain thin laptops have storage soldered directly to the motherboard, meaning no physical swap is possible. Others void their warranty if the bottom panel is opened. Check your warranty terms and a teardown guide for your specific model before proceeding. When in doubt, consult a certified repair technician.
Step-by-Step: The Replacement Process
The steps below cover the full process from data protection through hardware installation. Follow them in order - skipping ahead, particularly past the cloning step, is the most frequent source of data loss during this upgrade.
Back up your data completely
Before touching any hardware, create a full backup of everything on your current drive. Use an external hard drive, a NAS device, or a cloud backup service. Verify the backup is complete and that you can actually access the files - a backup you can't restore from offers no protection.
Identify your drive interface
Open your computer's specifications page (check the manufacturer's support site using your model number) and confirm whether you need a 2.5-inch SATA SSD or an M.2 NVMe SSD. These are physically and electrically different - installing the wrong type simply won't work. Desktops often support either; many slim laptops only accept M.2. If you're unsure how these differ in practice, see our overview of HDD vs. SSD storage types.
Clone your existing drive to the SSD
Connect the new SSD to your running computer using a USB enclosure or adapter. Open your cloning software, select your current drive as the source and the new SSD as the destination, then start the clone. This process copies your operating system, applications, and personal files exactly as they are. Cloning duration depends on how much data you have - plan for 30-60 minutes or more for large drives.
Shut down and open the case
Power the computer off completely and unplug it from the wall. For laptops, remove the battery if it's accessible. Ground yourself by touching a metal part of the case or use an anti-static wrist strap. Remove the bottom panel (laptops) or side panel (desktops) using the appropriate screwdriver.
Remove the old drive and install the SSD
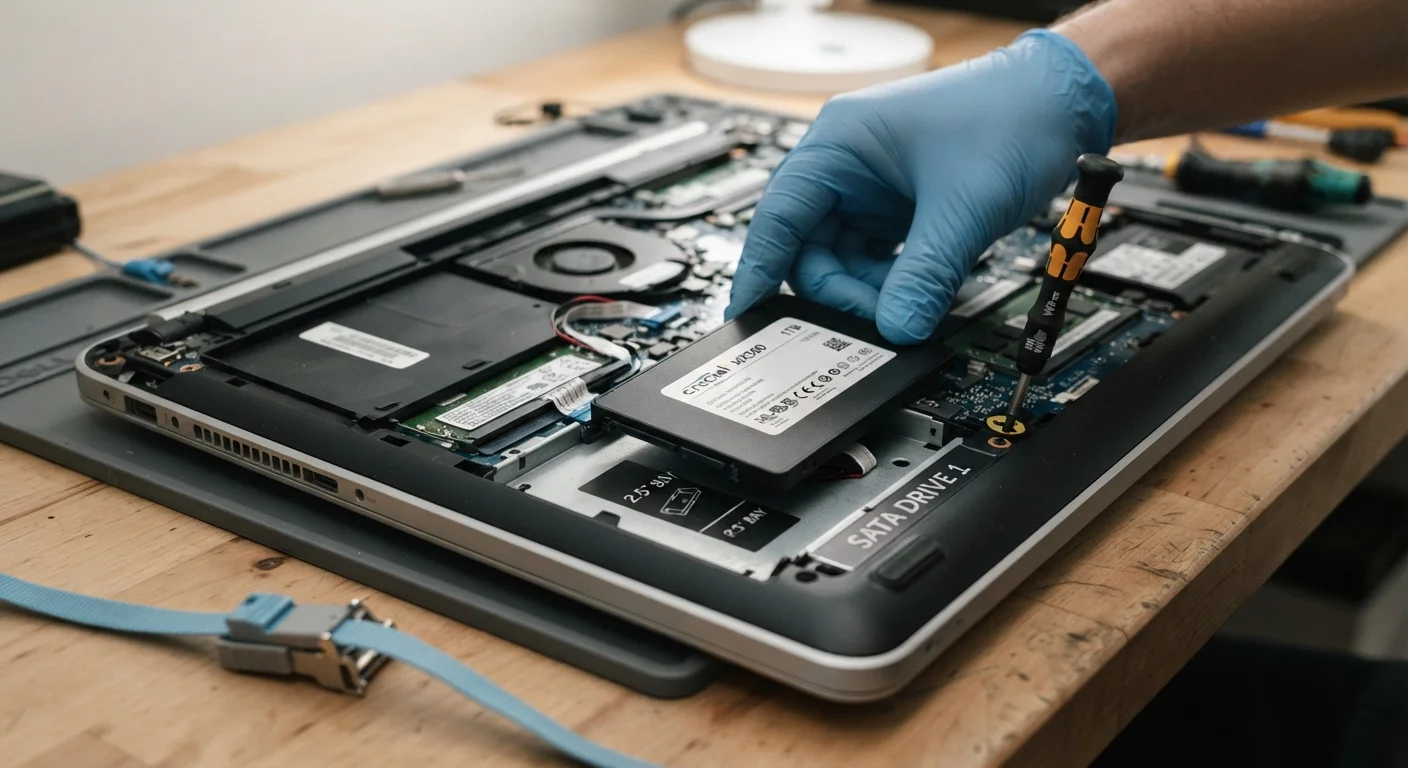
Locate the existing hard drive. For SATA drives, disconnect the data and power cables, unscrew any mounting bracket, and slide the drive out. For M.2 drives, remove the single retention screw, lift the drive at a slight angle, and pull it free. Insert the new SSD in reverse order: seat it in the slot or bay, secure it with the screw or bracket, and reconnect cables if applicable.
Reassemble and verify the boot
Replace the case panel and screws, reconnect the power cable, and power on the computer. If the clone succeeded, your machine should boot into your familiar desktop environment from the SSD - typically noticeably faster than before. If it doesn't boot, re-enter the BIOS/UEFI (usually by pressing F2, F12, or Del during startup) and confirm the SSD is listed as the first boot device.
Keep the Old Drive as a Temporary Backup
Don't erase or repurpose the original hard drive right away. Keep it intact for a week or two after the swap. If anything is missing or the clone shows errors, you can pull files directly from the old drive using a USB enclosure. Once you're confident everything is intact, you can reformat it for extra storage.
After the Swap: What to Check
Once your computer boots successfully from the SSD, a few follow-up checks help confirm everything is working as expected. On Windows, open Device Manager and look under Disk Drives to confirm the SSD is listed correctly. On macOS, go to About This Mac > Storage to verify the drive name and capacity.
If your SSD supports a feature called TRIM, confirm it is enabled - on Windows, this is typically on by default for SSDs; on macOS, it is also enabled automatically for supported drives. TRIM helps the SSD manage data efficiently over time and sustains long-term performance.
If you encountered unexpected complications during the hardware steps, the common upgrade realities guide covers situations where a straightforward swap becomes more involved than expected.
This article is for informational purposes only. Hardware upgrades carry inherent risks including data loss and physical damage. Always back up your data and consult a qualified technician if you are uncertain about any step.