
Speaker Muffled, Mic Cutting Out, or Camera Foggy? Solving Physical Port and Sensor Issues

Key Takeaways
- Lint, dust, and skin oils clog speaker grilles and microphone ports, causing muffled or absent sound.
- Gentle dry cleaning tools — not liquids — are the safest first approach for most port and sensor issues.
- Camera fogging is often caused by condensation inside the lens module and typically resolves with careful warming.
- Avoid compressed air cans at close range; the pressure can push debris deeper or damage internal components.
- Most physical hardware issues can be resolved at home without professional tools or technical expertise.
What you will need
Why Physical Debris Affects Audio and Camera Hardware
Mobile phone speakers, microphones, and cameras operate through small, precision openings. Speakers use a mesh grille over a delicate paper or polymer driver. Microphones rely on tiny pinholes that funnel sound to a MEMS sensor — a microscopic mechanical element that converts air pressure changes into electrical signals. Camera lenses sit behind a scratch-resistant glass cover that accumulates oils from fingers and lint from pockets.
When any of these openings become obstructed — with lint, compressed skin oil, or dust — the physics of sound and light transmission break down. A clogged speaker grille scatters sound waves before they leave the device, causing the characteristic muffled quality. A blocked microphone pinhole reduces air pressure variation reaching the sensor, which callers experience as a cutting-out or distant effect. A smeared or fogged camera lens scatters incoming light before it hits the image sensor, producing soft, hazy images regardless of software settings.
The good news is that these are mechanical problems with straightforward mechanical solutions. No software update or factory reset addresses a lint-packed grille. The steps below walk through each component systematically. For context on how habits contribute to these issues over time, the patterns that quietly degrade hardware reliability apply to mobile devices just as much as computers.
What you will need
Tools You'll Need
The right tools make the difference between safe, effective cleaning and accidental damage. Gather everything listed below before starting — improvising mid-task with unsuitable materials is how ports get scratched or mesh gets torn.
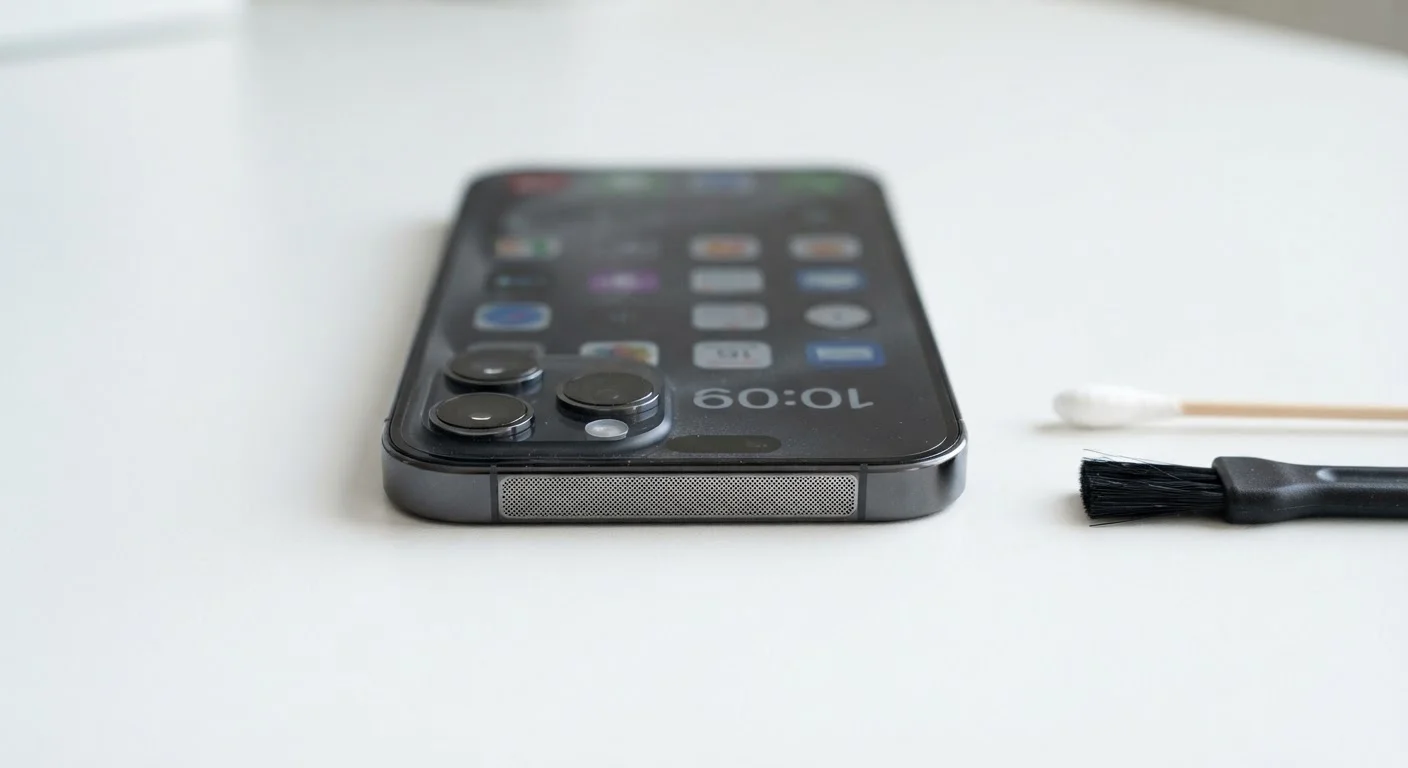
Soft-bristle brush
Loosens and sweeps away compacted lint and dust from speaker grilles and microphone ports without scratching.
Dry cotton swabs
Absorbs residual oils and wipes accessible surfaces around ports without introducing liquid.
Wooden toothpick or plastic dental pick
Gently dislodges compacted debris from speaker mesh or charging port edges without conducting electricity.
Microfiber cloth
Polishes the camera lens exterior and wipes down the device body without leaving fibres behind.
Flashlight or bright lamp
Illuminates ports and grilles so you can accurately assess how much debris is present before and after cleaning.
Never Insert Metal Objects Into Ports
Toothpicks, paper clips, or SIM ejectors should never be used to clean speaker grilles, microphone holes, or charging ports. Metal objects can puncture the fine mesh protecting the speaker driver, short exposed charging contacts, or snap off inside a port entirely. Stick to soft non-conductive tools — wooden toothpicks and dry soft-bristle brushes are the limit.
Step-by-Step Cleaning Process
Work through each step in order, even if only one component appears affected. Debris in one port often migrates to adjacent areas, and a thorough pass ensures you don't miss a secondary blockage.
Power off the device and inspect all affected areas
Before touching any port or sensor, power down your phone completely. This removes electrical risk and makes it easier to see debris under a light source. Shine a flashlight at the speaker grille, microphone pinhole, and camera lens at an angle — angled light reveals lint and oils that straight-on lighting misses. Note which areas look blocked or smeared.
Brush out the speaker grille
Hold the phone with the speaker grille facing downward so loosened debris falls away from the device rather than deeper into it. Using short, firm strokes, brush across the grille with your soft-bristle brush. Work along the length of the grille, not perpendicular to it, to sweep material out through the mesh openings. Repeat until no visible lint or dust remains.
Clear the microphone port
Most smartphones have two or three microphone pinholes — typically one at the bottom near the charging port, one near the rear camera, and sometimes one on the top edge. Identify all of yours by checking your device manufacturer's support page if unsure. Gently brush each pinhole with the tip of your soft-bristle brush. If a pinhole appears visibly blocked, use a wooden toothpick to very lightly tease debris out — do not push inward.
Clean the charging port
Compressed lint in the charging port can also interfere with audio accessories and wired headsets. With the phone off, angle your flashlight into the port. If lint is visible, use a wooden toothpick to gently loosen it from the sides and bottom, then brush it out. Work slowly — the charging contacts (the small metal pins inside) are fragile. A dry cotton swab can wipe residual grime from around the port's rim.
Address a foggy or smeared camera lens
External smearing — fingerprints and oils on the glass lens cover — is fixed simply by wiping with a dry microfiber cloth using gentle circular pressure. If fogging appears inside the lens (a hazy or milky look that doesn't wipe away), this is condensation between lens elements, usually caused by a rapid temperature change. Move the phone to a consistently warm, dry environment and leave it undisturbed for one to two hours. In most cases the condensation evaporates on its own. Do not use a hairdryer at close range, as excessive heat can warp lens coatings.
Test all affected components and assess results
Power the phone back on. Play a media file at full volume to evaluate speaker clarity, make a brief call to test the microphone, and open the camera to check lens clarity. If muffling persists in the speaker, the issue may be a blown driver rather than debris — this requires professional repair. If the microphone still cuts out during calls, check your phone's sound settings to confirm no software mute or call-mode equalizer is active before concluding it is a hardware fault.
Pair Cleaning With Preventive Habits
Routine care dramatically reduces how often physical ports need cleaning. Keeping your phone out of pockets with loose lint, using a case with port covers, and avoiding placing the device face-down on dusty surfaces all help. See our guide to everyday phone maintenance habits for a broader prevention checklist.
When Home Cleaning Isn't Enough
Most debris-related issues respond well to the steps above. However, some symptoms indicate hardware damage that cleaning cannot fix:
- Speaker distortion at all volume levels — a buzzing or crackling sound even at low volumes suggests a damaged driver, not just blockage.
- Microphone completely silent — if no sound registers in voice memos after cleaning all pinhole locations, the MEMS sensor may have failed.
- Permanent internal camera fogging — if haze inside the lens doesn't clear after several hours in a warm, dry environment, the lens seal may have failed, allowing moisture to enter the module permanently.
In these cases, contact your device manufacturer's support channel or an authorized repair provider. Attempting to open the phone casing to access internal components voids most warranties and risks further damage unless you have specific repair training and the correct tools. Consistent preventive maintenance — detailed in our phone care habits guide — remains the most reliable way to avoid reaching this point.
Moisture and Electronics Don't Mix
Do not spray any liquid cleaner directly onto the device or blow moisture into ports. Even water-resistant phones can be damaged if liquid enters speaker or microphone cavities. If your device has been submerged or rained on, allow it to air-dry completely for at least an hour before attempting any cleaning steps.