

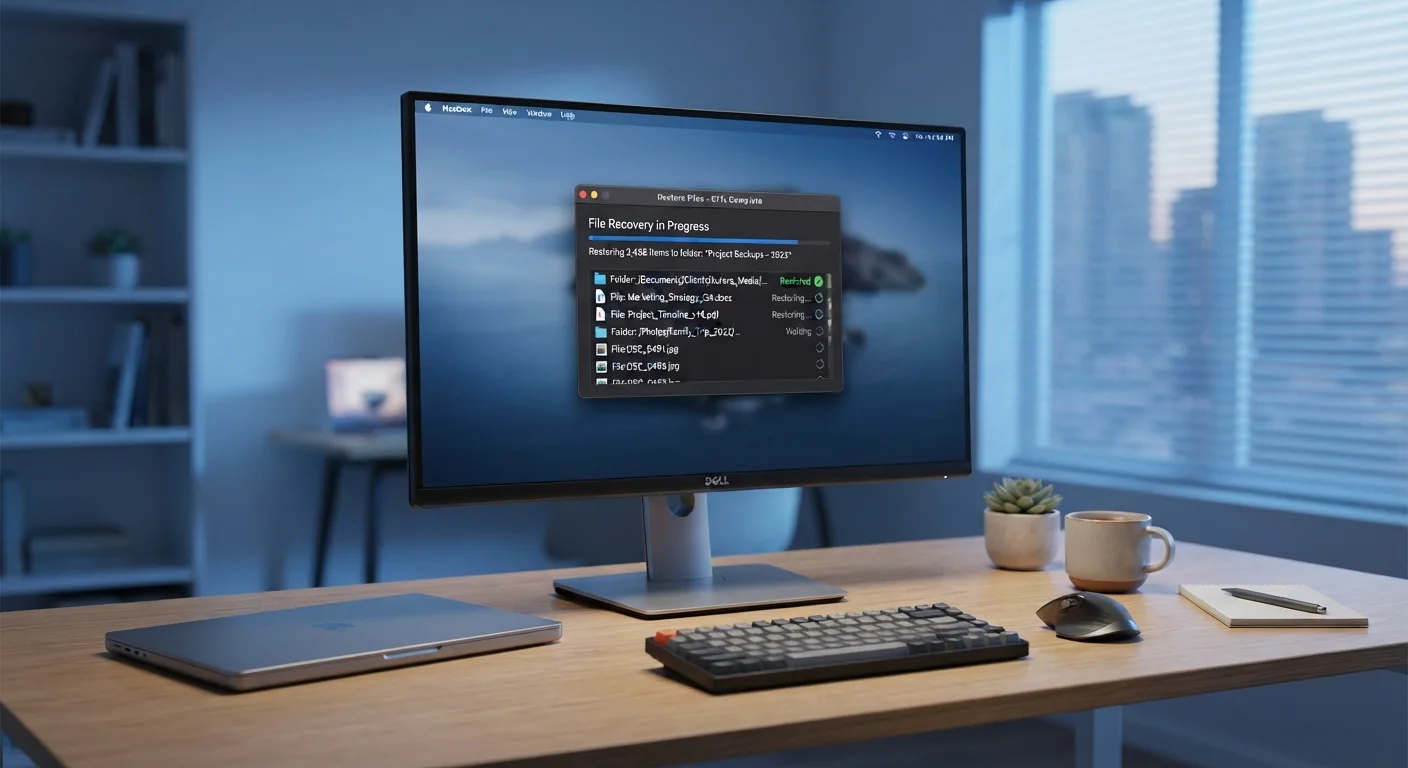
Key Takeaways
- Windows Recycle Bin and macOS Trash are the first and fastest recovery options for deleted files.
- Windows File History and macOS Time Machine can restore older versions of files — if enabled beforehand.
- The Windows Previous Versions feature can recover files without any prior backup configuration.
- Acting quickly improves recovery success because new files can overwrite deleted data on the drive.
- No third-party software is required for most common accidental deletion scenarios.
What you will need
Why Built-In Tools Are Worth Trying First
When a file disappears, the instinct is often to search for a recovery application — but both Windows and macOS ship with multiple recovery layers that most users never explore. These native options are free, require no installation, and carry none of the risks associated with downloading unfamiliar software under pressure. Understanding what each tool does, and in what order to try them, can save you significant time and stress.
The recovery path depends on two factors: how the file was deleted and which built-in features were active on your system. Files moved to the Recycle Bin or Trash are easiest to recover. Files permanently deleted — using Shift+Delete on Windows, or emptied from the Trash — require shadow copies, backup snapshots, or cloud version history to retrieve.
What you will need
Gather what you need from the list above, then work through the steps in order, starting with the simplest option.
Step-by-Step Recovery Instructions
Check the Recycle Bin or Trash First
On Windows, double-click the Recycle Bin icon on your desktop. On macOS, click the Trash icon in your Dock. Look for the deleted file by name or browse by date deleted. Right-click the file and select Restore (Windows) or Put Back (macOS) to return it to its original location.
Use Windows File History to Restore a Previous Version
If the file is no longer in the Recycle Bin and you are on Windows with File History enabled, navigate to the folder where the file was originally stored. Right-click the folder, then select Properties > Previous Versions. Choose a snapshot from before the deletion and click Restore to recover the file.
Try Windows Previous Versions via Shadow Copies
Even without File History, Windows may have created automatic shadow copies through System Protection. Right-click the parent folder of the deleted file, select Properties, and open the Previous Versions tab. If any snapshots appear, select the most recent one taken before your deletion and click Open to browse its contents, then copy your file out manually.
Restore from macOS Time Machine
On macOS, open Time Machine from the menu bar icon or via System Settings > General > Time Machine. Navigate to the folder where the file lived, then use the timeline on the right edge of the screen to travel back to a point before the deletion. Select the file and click Restore.
Check Cloud Sync Trash or Version History
If the deleted file was stored inside a synced folder — such as iCloud Drive, OneDrive, or Google Drive — log into the corresponding web interface. Most cloud services maintain their own trash or version history separate from your local Recycle Bin or Trash. Look for a Deleted Files or Trash section within the service and restore from there.
Backup Tools Must Be Enabled First
Windows File History and macOS Time Machine only work if they were turned on before the deletion occurred. If you have never configured these tools, you will not be able to use them to recover this file. Use this moment as a prompt to enable them after your recovery attempt so you are protected going forward.
Enable Backup Tools Right After Recovery
Once you have recovered your file, take a few minutes to enable Windows File History or macOS Time Machine. Connect an external drive, open the relevant settings panel, and turn the feature on. Regular automatic backups are the single most reliable protection against future accidental deletion.
What to Do If the Built-In Tools Come Up Empty
If none of the native options above produced your file, it does not necessarily mean the data is gone forever — but your options become more limited without third-party tools. At this stage, the most important action is to stop writing new data to the drive to preserve whatever remnants may still exist on the storage medium.
Stop Using the Drive Immediately
If you cannot find your file in the Recycle Bin, Trash, or any backup, stop saving new files to that drive right away. Every file you write to the disk risks overwriting the deleted data, permanently eliminating any chance of recovery. If the file is critical, consider seeking professional data recovery assistance before taking further action.
For files of significant personal or professional value, a professional data recovery service may be worth considering. These services use specialized hardware and cleanroom environments to retrieve data from physically intact drives, though success is not guaranteed and costs vary widely. For everyday documents, photos, or downloads, this level of intervention is rarely practical — which underscores the value of configuring automated backups before you ever need them.