

Key Takeaways
- Grid lines help you compose stronger photos using the rule of thirds with zero effort.
- Manual exposure lock prevents your camera from automatically correcting a scene you intentionally framed.
- RAW capture preserves maximum image data, giving editing software far more to work with.
- Histogram display lets you verify exposure accuracy before you ever take a shot.
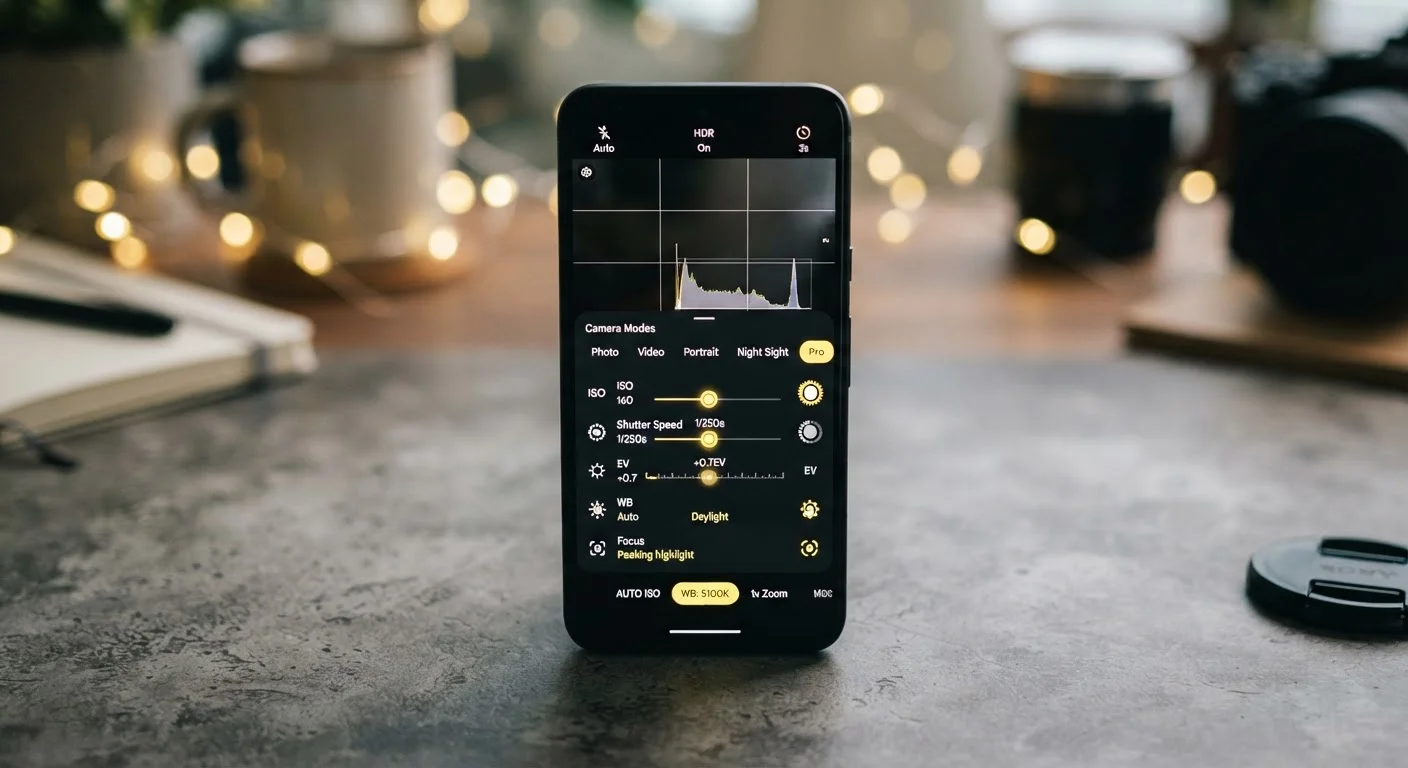
- Pro or manual mode gives direct control over ISO and shutter speed in challenging lighting.
Why Camera Settings Go Untouched
Most smartphone users open the camera app, point, and tap. That habit produces acceptable results — modern computational photography is genuinely impressive — but it also leaves a surprising amount of image quality on the table. The settings menus built into nearly every camera app contain tools designed to solve the exact problems photographers complain about most: blurry shots in low light, washed-out skies, awkward cropping, and flat images that don't edit well.
The misconception is that better photos require better hardware. In reality, sensor size and processing matter far more than megapixel counts, and understanding your camera's existing settings can close a significant gap between what your phone captures and what it's actually capable of. The settings below are available on most Android and iOS devices, though exact menu names vary by manufacturer.
Grid Lines (Rule of Thirds Overlay)
Found in virtually every camera app under display or composition settings, the grid overlay divides your viewfinder into nine equal rectangles. Positioning your subject at one of the four intersection points — rather than dead center — creates a more visually balanced image. It's a foundational principle in photography called the rule of thirds, and enabling this setting costs nothing beyond a quick toggle.
Positioning subjects at grid intersections rather than center creates a more visually balanced image.
AE/AF Lock (Exposure and Focus Lock)
By default, your camera continuously adjusts both focus and exposure as you move the frame. A long press on the viewfinder on most phones activates AE/AF Lock, which freezes both values at your chosen point. This is especially useful when shooting subjects against bright backgrounds — without it, the camera will expose for the sky and underexpose your subject every time.
Locking exposure before shooting prevents your camera from silently correcting a scene you intentionally framed.
RAW or RAW+JPEG Capture
JPEG files are processed in-camera: sharpening, noise reduction, and color adjustments are baked in before the image reaches your gallery. RAW files skip that processing and retain the full data captured by the sensor. If you edit photos in any app — including built-in tools on Android or iOS — RAW gives those editors far more to work with, particularly in recovering shadows and highlights. Sensor size and aperture shape RAW quality, but the format is supported on most mid-range and flagship devices.
RAW files preserve far more image data than JPEG, giving editing tools dramatically more recovery headroom.
Histogram Display
The histogram is a real-time graph of your image's tonal distribution, from pure black on the left to pure white on the right. A graph pushed hard against either edge indicates clipped shadows or blown-out highlights — detail that can't be recovered in editing. Many Pro and manual modes surface this tool directly in the viewfinder. Learning to read it takes about five minutes and eliminates guesswork about exposure before you press the shutter.
A histogram clipped against either edge signals lost detail that no amount of editing can recover.
Pro or Manual Mode (ISO and Shutter Speed)
Auto mode selects ISO (sensor sensitivity) and shutter speed (how long the sensor is exposed) on your behalf. In dynamic or challenging conditions, those automatic choices are often a compromise. Raising ISO in a dim indoor setting makes the camera more sensitive but introduces noise; slowing the shutter in low light captures more light but blurs motion. Pro or manual mode — labeled differently across manufacturers — lets you set both independently. Even basic familiarity with these controls pays off in low-light situations where auto mode consistently underdelivers.
Pro mode lets you set ISO and shutter speed independently, which is critical for usable shots in low light.
Timer and Burst Mode
The self-timer isn't only for selfies. Using a two- or three-second timer when the phone is propped up eliminates the camera shake caused by pressing the shutter button — useful for any low-light or macro shot where stability matters. Burst mode, meanwhile, fires a rapid sequence of frames and lets you pick the sharpest result afterward. Both features are typically accessible from a quick-settings row within the camera app, not buried in menus.
A two-second self-timer eliminates shutter-tap camera shake — a simple fix for noticeably sharper low-light shots.
Put These Settings to Work
None of the options above require additional equipment or technical expertise — they're already on your phone, waiting. Explore them one at a time rather than all at once, and test each in a situation where you've noticed your camera struggling. If you're evaluating whether your current phone is meeting your photography needs, our guide to judging phone cameras beyond specs can help you set realistic expectations. Your camera app's settings menu is one of the most underused tools in your pocket.
Test Settings Before You Need Them
The worst time to explore manual controls is during a moment you actually want to capture. Spend a few minutes with each setting in a low-stakes situation — indoors, in your backyard, or on a walk — so the controls feel familiar when it counts. Most camera apps also reset to defaults between sessions, so check which settings persist and which need to be re-enabled each time.