

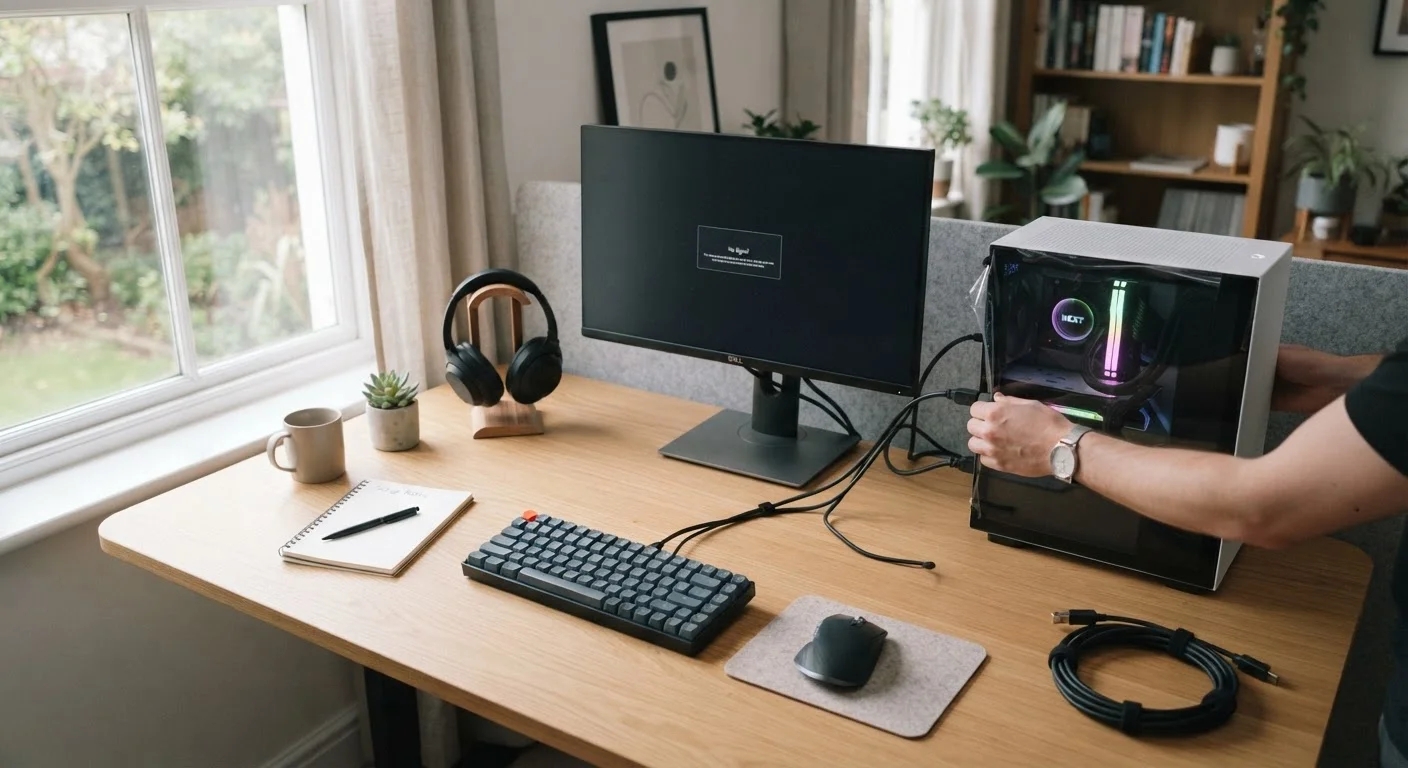
Key Takeaways
- Position your tower and monitor in a well-ventilated spot before connecting any cables.
- Connect peripherals in the correct order to avoid confusion during the initial power-on.
- Running Windows Update and creating a user account are essential first-login tasks.
- Installing security software and backing up your system protects you from day one.
- Keeping cables managed and vents clear extends the life of your hardware.
What you will need
What You'll Need Before You Start
Setting up a desktop PC is more straightforward than most first-timers expect, but a little preparation goes a long way. If you're still deciding whether a desktop is the right fit, our complete desktop buyer's guide covers the key considerations before you purchase.
Gather everything listed below before you begin. Having it all on hand means you won't have to stop mid-setup to hunt for a password or cable.
What you will need
Surge Protector or UPS
Protects your desktop components from power spikes that can damage hardware or corrupt data.
Microfiber Cloth
Useful for cleaning the monitor screen without scratching it during initial setup.
Cable Ties or Velcro Straps
Keep power and data cables organized and away from vents once everything is connected.
Ethernet Cable
Provides a faster, more stable internet connection than Wi-Fi during the initial software update process.
Step-by-Step Setup Instructions
Follow these steps in order. Each one builds on the last, and skipping ahead - particularly on the software side - can lead to security gaps or connectivity problems that are harder to untangle later.
Choose and prepare your workspace
Place the tower on a flat, hard surface - not carpet - where it won't be kicked or have airflow blocked. Leave at least four inches of clearance behind it. Position the monitor at roughly arm's length, with the top of the screen at or slightly below eye level to reduce neck strain.
Connect the monitor to the tower
Locate the video output port on the back of the tower - common types include HDMI, DisplayPort, and USB-C. Match it to the cable that came with your monitor (or the port on the monitor itself) and connect firmly. If your monitor has multiple input options, make a note of which one you're using - you may need to select it manually after powering on.
Attach keyboard, mouse, and audio
Plug the keyboard and mouse into any available USB ports. Wireless models will have a small USB receiver (called a dongle) - insert it into a USB port and the devices should pair automatically. Connect speakers or headphones to the audio jack (usually green) or via USB if applicable.
Connect power cables through a surge protector
Plug both the tower's power cable and the monitor's power cable into a quality surge protector - not directly into a wall outlet. A surge protector guards against voltage spikes. Once both devices are connected to the protector, plug the protector into the wall outlet.
Power on and complete initial OS setup
Press the power button on the tower. The monitor may need to be turned on separately. Your operating system setup wizard will launch - follow the on-screen prompts to select your language, region, and connect to your Wi-Fi network. On Windows, you'll be prompted to sign in with or create a Microsoft account; on macOS, an Apple ID is used similarly.
Run system updates immediately
After reaching the desktop, check for operating system updates right away. On Windows, go to Settings → Windows Update → Check for updates. On macOS, open System Settings → General → Software Update. Install all available updates and restart if prompted. This closes security vulnerabilities that existed between when your PC was manufactured and when you turned it on.
Install security software and create a backup
Windows includes Microsoft Defender Antivirus by default - confirm it's active in Settings → Privacy & Security → Windows Security. Next, set up a basic backup: Windows offers File History and macOS has Time Machine. Connect an external drive or configure a cloud backup service to protect your files from day one.
Update Before You Browse or Download Anything
Newly unboxed PCs can carry months' worth of unpatched security vulnerabilities. Running system updates before opening a browser or installing any software is the single most effective step you can take to protect your machine. Skipping this step - even briefly - leaves your computer exposed during one of its most vulnerable moments.
Once your desktop is fully set up, you may want to explore how to keep it running well over time. Our computer upgrades hub offers practical guidance on improving performance as your needs grow. And if anything goes wrong down the road, the computer problem solving hub is a useful resource for diagnosing common issues.
Keeping Your Setup in Good Shape
Physical care matters as much as software hygiene. Dust accumulates inside the tower over time and restricts airflow, causing the system to run hotter than it should. Every few months, use a can of compressed air (with the tower powered off and unplugged) to clear dust from vents and fan grilles.
Label Your Cables Before You Forget
Once everything is connected, use small adhesive labels or colored tape to mark each cable at the point where it plugs in. This makes future troubleshooting - like identifying which cable powers which device - much faster. It takes two minutes now and saves considerable frustration later.
Don't Skip the Surge Protector
A single power surge can permanently damage a processor, storage drive, or motherboard - none of which are covered by most standard warranties. A quality surge protector is inexpensive insurance. If your area experiences frequent outages, a UPS (uninterruptible power supply) also gives you time to save work and shut down gracefully.
If you also own a laptop, the configuration steps share some similarities but differ in key ways - see our guide on what every first-time laptop owner should set up for a direct comparison. And if you're thinking about expanding into a connected home, your first smart home guide is a natural next step once your PC is stable and online.